Starting up the 900SS/SP has always been a bit of a "will it or won't it" proposition. The starter churns the big pistons over soooo slooooowly and it's a toss-up whether the thing will fire before the battery runs out of juice. This is not to mention the frequent occurrence of a literally smoking-hot positive battery cable (!).


About ten days later the Motolectric kit arrived from California. It is comprehensive, containing beefy cables to replace the stock ones that run from the negative battery post to ground, from the positive battery post to the starter relay, and from the starter relay to the starter. The kit also includes rubber terminal boots, a pair of latex gloves, a microfibre towel, some cleaning supplies, and many zipties to ease installation. There are no instructions included, but general instructions are posted on the Motolectric website. These were frankly insufficient for the 900SS/SP installation but proprietor Michael Heth was very generous with his time in responding quickly and clearly to my emailed questions.
Here's some of the wisdom he imparted as well as my own experience in installing the kit, assisted in no small part by my good friend Andy.
NEGATIVE (GROUND) BATTERY CABLE: the new cable is NOT installed directly in place of the old cable, which runs from the left-hand (negative) terminal of the battery to a grounding stud on the upper left side of the frame. Instead, it runs across the centre of the bike to the right side, and behind the cam belt cover through a gap between the cover and the vertical cylinder, and down to ground directly on the engine near the breather. You can tell where the ground is because another grounding wire comes out of the frame and is secured to the ground. It was a bit of a faff to get the thick cable through the gap behind the cam cover, but I did it using a ziptie to "extend" the cable give something to grab onto to get it through the tight spot. Use the supplied bolt in replacement for the stock grounding bolt, and be sure to place the new cable end lowermost (next to the engine casing) when retightening.
 |
| Ground bolt on engine case (centre left) |
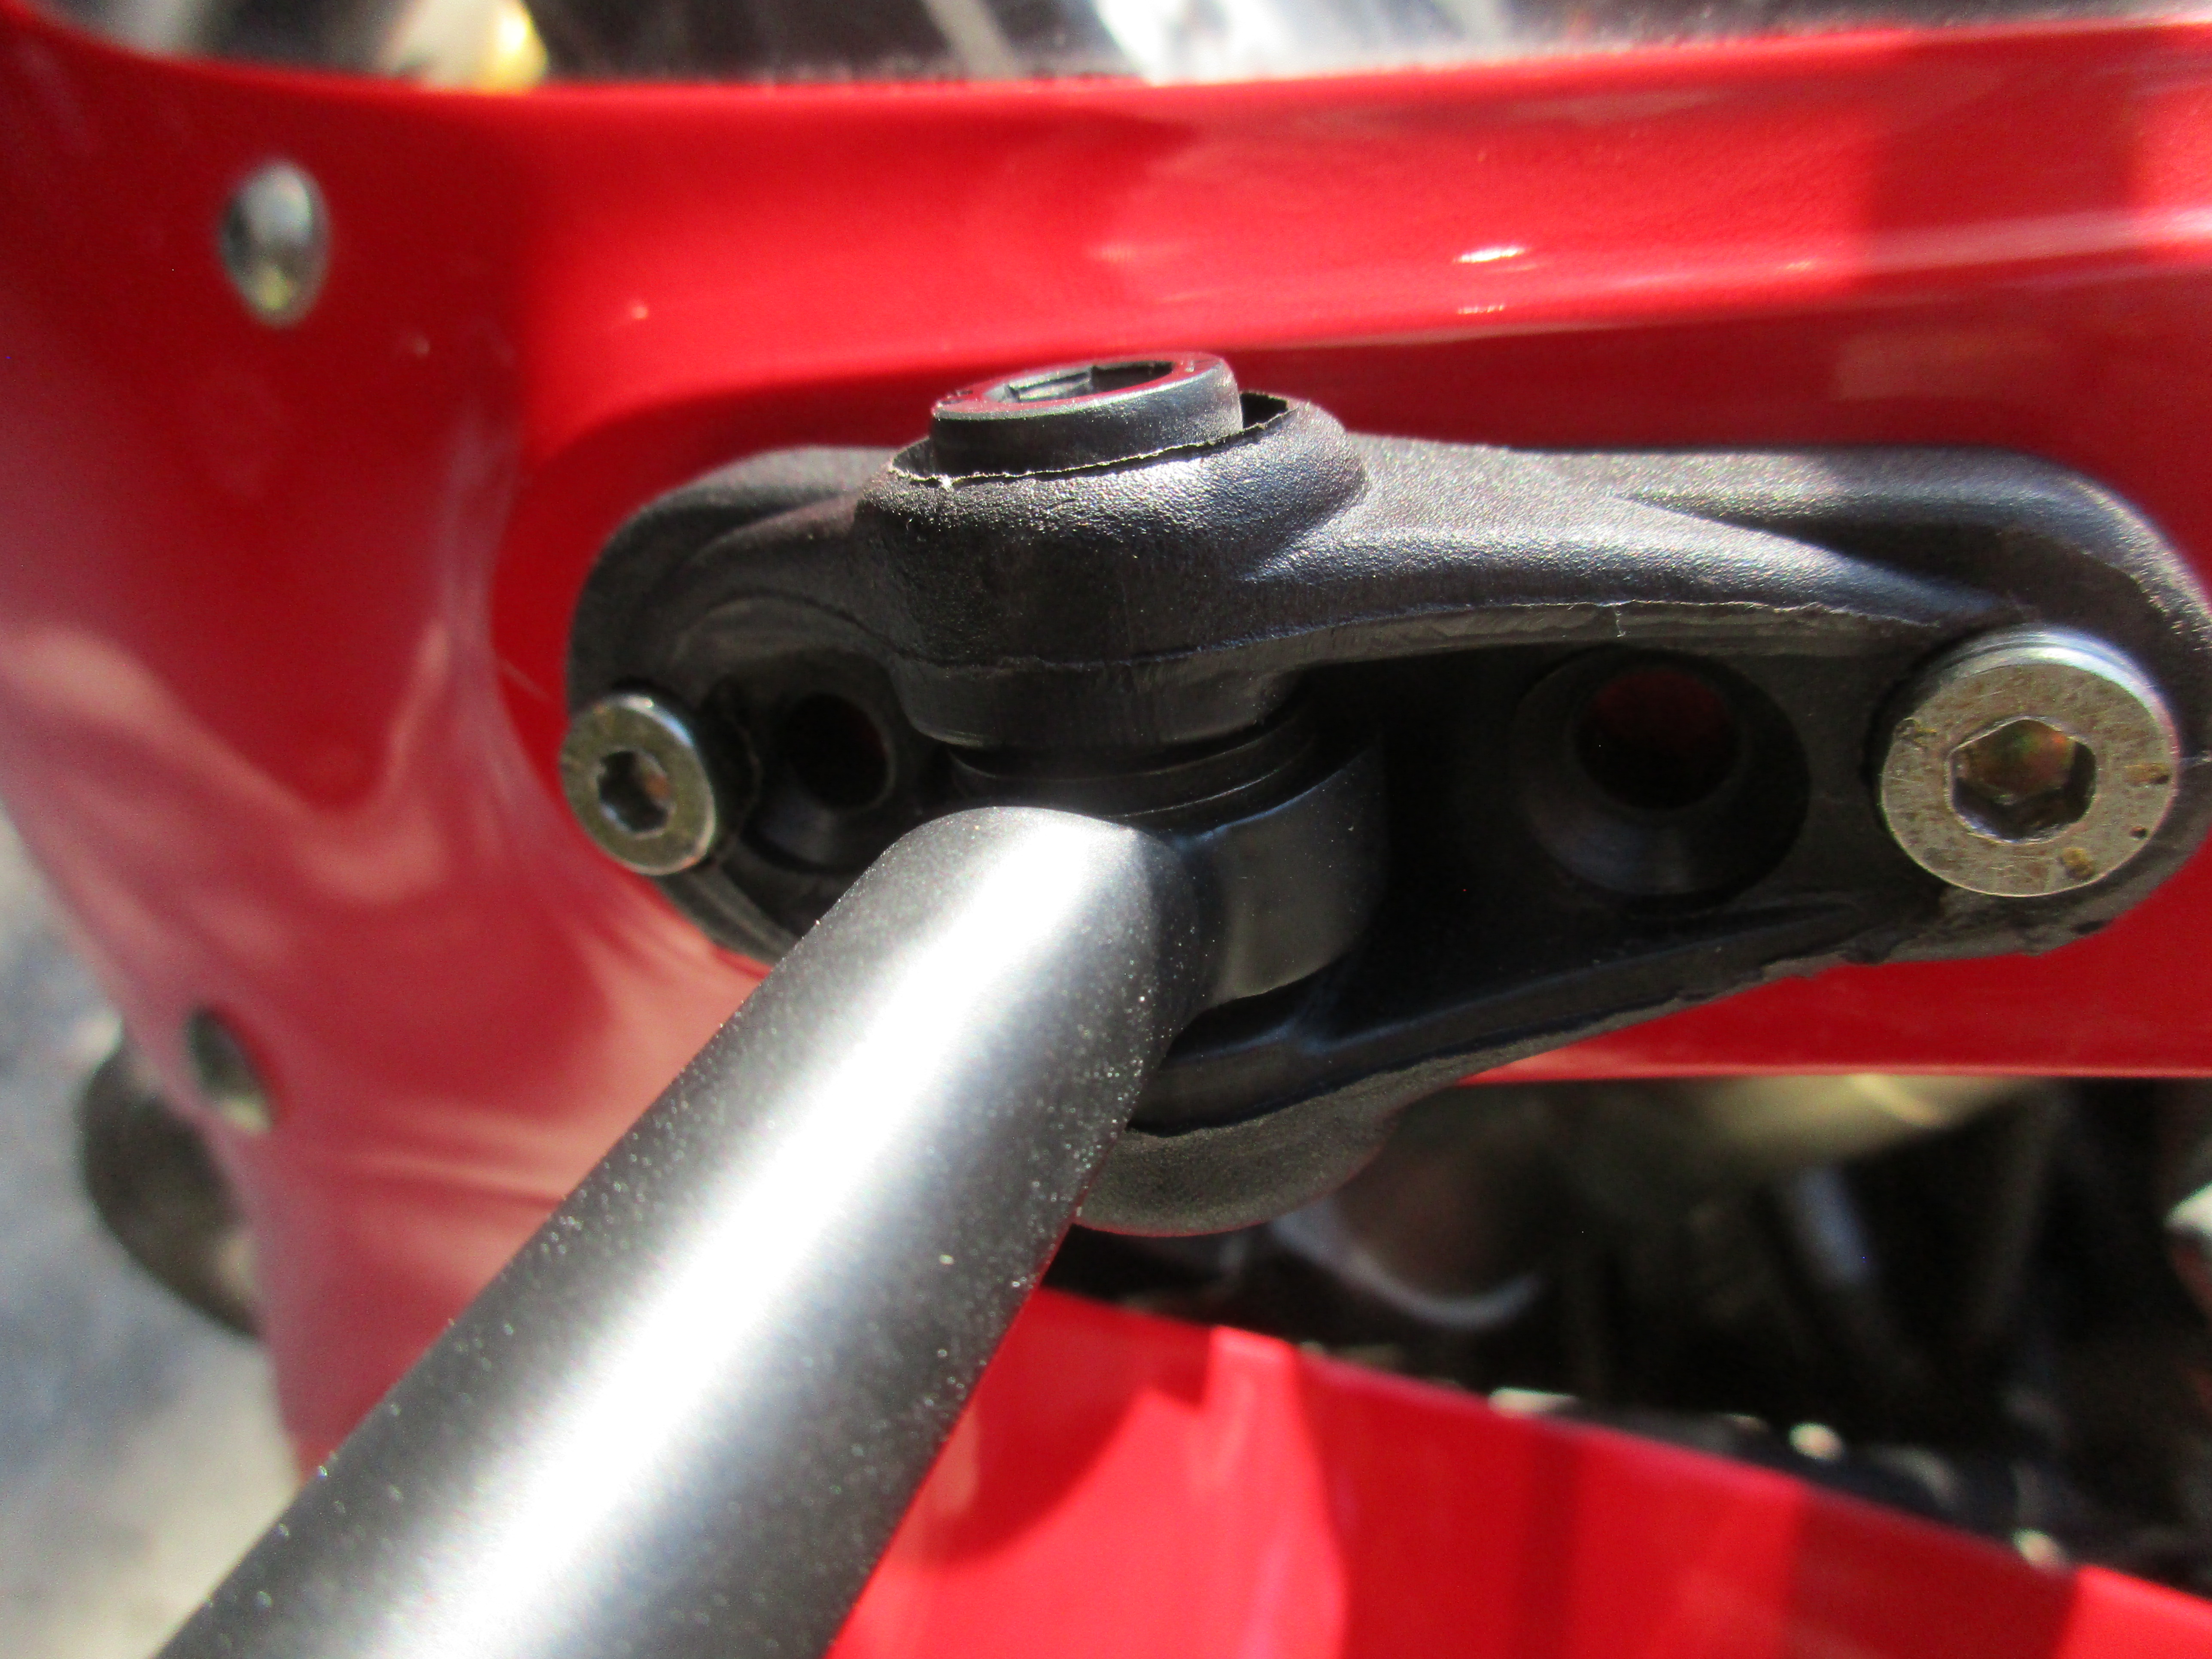
 |
| New ground wire connected |
POSITIVE BATTERY CABLE TO STARTER RELAY: Contrary to what it says on the website, this one does require cutting of the stock wiring. The Motolectric cable contains a pigtail with a yellow screw-type wire connector. The stock wiring consists of a cable connected to the positive terminal of the battery that itself connects to a box mounted on a flat metal piece. The box unites two smaller boxes: one containing the wire that runs to the starter relay and the other with two red wires that go elsewhere. Take the box apart by pressing the plastic connector levers, and cut the two red wires, stripping the insulation down about half an inch from the ends. Put the ends into the detachable half of the yellow screw-type wire connector in the new cable pigtail, and screw the connector together, sealing the connector with the supplied heat-shrink wrap.
 |
| Photo: Motolectric |
STARTER RELAY: This was the trickiest part of the install as it involved some delicate work around a VERY hot engine. First, get in there and disconnect the white plug from the relay and then dismount the relay from its metal mounting. Just work the rubber sleeve off the mounting and then take it off the relay. Once this is done the relay has a lot of room to move and is much easier to access. Remove the boot from the positive input side, remove the bolt and the old cable, and attach the positive battery cable there. Do the same with the other side - attach the new cable that goes to the starter. We had to cut the "lips" off the new boots to allow the white plug to reseat properly. Then put the relay back in the rubber sleeve and reinstall on the metal mount.
STARTER RELAY TO STARTER: be mindful of where the stock cable runs and cut the zipties securing it to the frame. Run the new cable along the same path. You may have difficulties unscrewing the nut from the threaded post on the starter where you attach the cable coming from the relay. It is down below the engine and directly in the path of road muck. The one on my bike was so crusty it was nearly unrecognizable. Still, once some penetrant was applied the super hot engine helped it work. It's a 9mm nut but was starting to round, so we pounded on an 11/32" socket and hey presto, it came off. I was warned to be careful to secure the post with a thin wrench lest it rotate and twist up the wires inside the starter, but this turned out not to be an issue. Attach the terminal of the cable to the post and use a new 9mm nut to fasten it up, then ziptie the loose cables back into their positions. Sorted!
The theory behind the upgrade kit is that the stock wiring and ground routing don't enable efficient current flow, and this limits the cranking power that can get from the battery to the starter. Less cranking power means the starter has to crank longer and the battery has to work harder, wearing both components (especially the battery) prematurely. Beefing up the size and quality of the cables means current flows better, the starter cranks harder and the bike starts better. I'm optimistic that the cable upgrade will help my bike to start better, but it's hard to quantify the effect at this point as the battery is brand new and started the bike instantly anyway. Hopefully the cable upgrades will help preserve that battery capacity for seasons to come. As for the Motolectric kit, I recommend it - the cables look impressive (there is an explanation of the technology behind them on the Motolectric website) and the kit is comprehensive. As noted, the installation instructions on the website are generic and some of them were inapplicable to my bike, but Motolectric was very helpful in sorting it out. Installation took a couple hours altogether.
Cost: ~$200CAD including shipping
From: motolectric.com